Best selling wood projects
The ukulele is progressing, but has gone on the back burner while this commission is completed.
Preparing Stock
For this hall table I will use some very old Australian Rosewood.
It was felled over twenty years ago and has sat around all that time waiting to be turned into something beautiful.
Hope I do it justice.

The exterior of the rosewood has deteriorated but the timber underneath is quite lovely.

Here I am cutting the legs.

Note the push stick on the right for assisting with the feeding when using the fence on the bandsaw.
Saves losing fingers if things slip up.

Already some interesting grain is evident and this will need to be watched to prevent tearout when working with tools.
There is a natural edge to this slab which I will preserve as the leading edge of the table top.
It is weather beaten and grungy, so it will need refining when the time comes.
In its present shape this slab is too long and will be trimmed to size, being careful to remove as much cracking and checking (see far end) as possible.
Next step will be to mill the legs. These will be square in section at first but will be tapered later.

First step will be to cut these to length.
Before tapering, the mortices that will house the rails will be cut. It is much easier to do this with square stock than with tapered stock.
Also, the rails need to be housed in mortices that are square to the rail ends.
The grain in the legs is not straight, and has a distinct sloping attitude to it. I will use this to advantage when it comes time to taper the legs. The tapers will follow the grain.
Next step is to cut out the front and back rails as well as the side rails.
These will be the same width and thickness.

Here I have cut more rails than I need.
there is some checking towards the ends of the individual timbers and the grain varies with the timbers used.
There is also some significant sapwood that shows some signs of insect larval damage.
I want to use the sapwood in the design if possible, but will carefully remove any damaged sections first.

The rails need truing and the bandsaw marks need removing from the edges and faces.
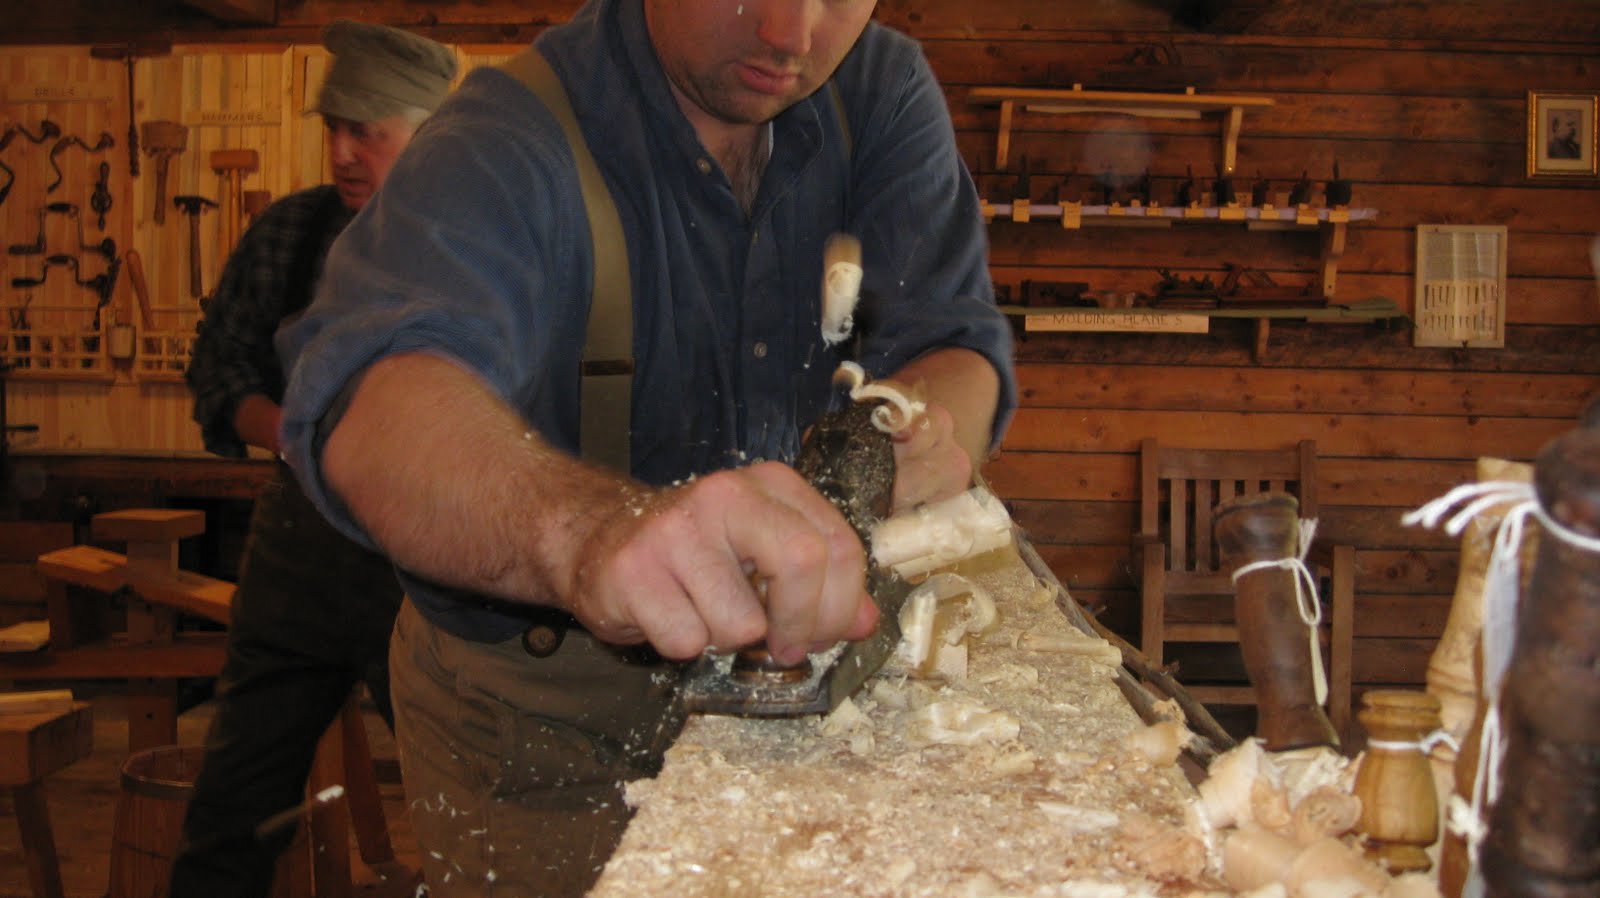
Here I am using a Stanley Number 31 transitional plane as my jointer.

The edges are checked for square against a strong light. As you can see, this edge still needs work.
The Legs

Once the legs have had their mortices cut - I use a router for this - then the legs can be tapered.
A rough taper is cut on two faces of each leg on the bandsaw.

The legs are then smoothed using the Stanley jointer once more.

Once smooth, the edges need to be dressed to prevent splintering and the base of each leg chamfered.

This chamfer stops the bottom of the leg splintering, and also creates a shadow line under the foot - adding a little elegance.
In the next part, I will dress the table top and gather all of the parts before final assembly.
Best selling wood projects


 My existing benches, used by adults and secondary students, are fantastic. They are solid and made for serious woodworking. However they are heavy and need to be assembled. Each bench is held together by 4 bolts. I have made shorter legs sets to enable young children to be able to use them.
  So here is what I came up with in the experiment, and I reckon they are little beauties! A bit like sawstools with a widened top. Note the small shelf under as well.
 Of the two small benches I made, only one has the two vices fitted so far. I need to find more of them!!They are second hand 6 inch vices made for kids. Old ones, of course, sourced from markets and garage sales. Both Australian made, one by Carter and the other by Silex.

 It must be time I started rounding up the timber to make the rest of the batch...
 Doug around the time that he finished his apprenticeship. Probably around 1949-1950.
 This advertisement was shown at the Windsor Theatre in Nedlands, around 1952. It shows the latest in modern kitchens at that time!
 Over the years, Doug built a number of pipe organ consoles, wind chests, wooden pipes, fascias and other components for several Australian Organ Builders. This picture from 1980 shows Doug building the jarrah facade for the Perth Concert Hall Organ.
  This picture shows me in 1988 making a reproduction jarrah lounge chair for a customer. This was when I started my "apprenticeship", as Dad worked with me most days over the next 4 years. I was so privileged to be working with him and learning from him over this period.
 This picture shows Mum & Dad, Doug and Gwen, at Dads 80th birthday celebration.


